How to create a local account in Windows 11?
Creating a local account in Windows 11 allows you to use your computer without linking it to a Microsoft account. Here's how to create a local account in Windows 11:
Note: You can set up a local account during the initial Windows 11 installation or create one later if you've already set up a Microsoft account.
Creating a Local Account During Windows 11 Installation:
When you first set up Windows 11, you'll be prompted to connect to the internet and sign in with a Microsoft account. To create a local account instead, click on the "Offline account" link at the bottom left of the screen.
In the "Who's going to use this PC?" window, click on the "Limited experience" link.
Next, click on "Add user" under the "Create a local account" section.
You'll be prompted to enter the username, password, and password hint for your local account. Fill in the required information and click "Next."
Windows 11 will create the local account, and you'll see a message saying "Your account has been created." Click on "Finish."
Creating a Local Account After Windows 11 Setup:
If you've already set up Windows 11 with a Microsoft account and want to create a local account afterward, follow these steps:
Click on the "Start" button (Windows icon) in the taskbar.
Click on your profile picture or name at the top of the Start menu to open the account settings.
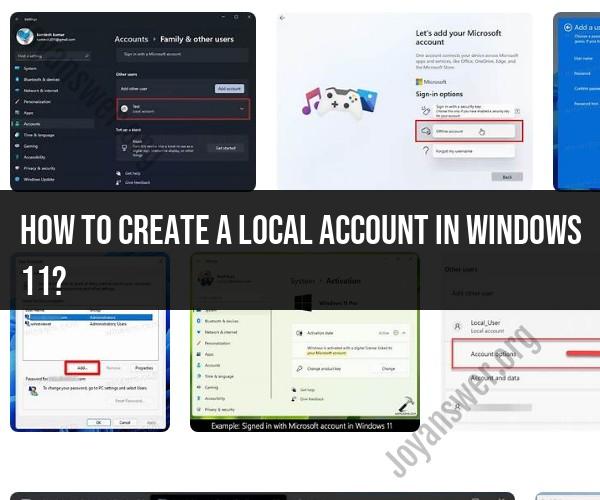
In the Accounts settings, click on "Family & other users" in the left sidebar.
Under "Other users," click on the "Add account" button.
In the "Add someone else to this PC" window, click on "I don't have this person's sign-in information" at the bottom.
In the next window, click on "Add a user without a Microsoft account."
You'll be prompted to enter the username and password for the new local account. Fill in the required information and click "Next."
Windows 11 will create the local account, and you'll see a message saying "Your account has been created." Click on "Finish."
Now you have successfully created a local account in Windows 11. You can use this account to sign in to your computer without needing a Microsoft account. Keep in mind that local accounts have limited access to some Microsoft services and features compared to Microsoft accounts.
Creating a Local Account in Windows 11: Step-by-Step Instructions
To create a local account in Windows 11, follow these steps:
- Open the Settings app.
- Click Accounts.
- Click Family & other users.
- Under Other users, click Add account.
- Click I don't have this person's sign-in information.
- Click Add a user without a Microsoft account.
- Enter a username and password for the new account.
- Click Next.
- Select the security questions for the new account.
- Click Next.
- Click Finish.
The new local account will be created and will be available for use.
Windows 11 User Account Setup: Establishing a Local Profile
To establish a local profile in Windows 11, you will need to create a local account. Once you have created a local account, you can then set up your profile by following these steps:
- Open the Settings app.
- Click Accounts.
- Click Your profile.
- Under Profile information, update your name, picture, and contact information.
- Under Account settings, you can change your password, PIN, or lock screen settings.
- Click Update your profile.
Your local profile will now be established and you can start using your local account.
Navigating Windows 11: How to Create a Local User Account
To create a local user account in Windows 11, you can navigate to the Settings app and then click Accounts. Under Other users, click Add account and then I don't have this person's sign-in information. Next, click Add a user without a Microsoft account and enter a username and password for the new account. Finally, click Next, select the security questions for the new account, and click Finish.
Once you have created a local user account, you can switch to it by clicking on your profile picture in the Start menu and then selecting Sign out. Then, select the local user account that you want to switch to and enter the password.
You can also create a local user account using the Command Prompt. To do this, open the Command Prompt as an administrator and enter the following command:
net user USERNAME PASSWORD /add
Replace USERNAME with the name of the new user account and PASSWORD with the password for the new user account.
Once you have created a local user account, you can manage it by opening the Settings app and clicking Accounts. Then, under Other users, click on the local user account that you want to manage. You can change the password, PIN, or lock screen settings for the account, or you can delete the account.


