How to use handwriting input on Windows 10?
Using handwriting input on Windows 10 can be a convenient way to input text and drawings, especially if you have a touchscreen device or a digital pen. Here's a step-by-step guide on how to enable and use handwriting input on Windows 10:
Enable Handwriting Input:
Ensure Touchscreen or Digital Pen: Make sure your Windows 10 device has a touchscreen or is compatible with a digital pen or stylus. Handwriting input is designed for touch-enabled devices.
Enable Tablet Mode (Optional): While not required, enabling Tablet Mode can provide a more touch-friendly interface. To enable Tablet Mode, click on the "Action Center" icon in the taskbar (it looks like a speech bubble) and then click on "Tablet mode."
Using the On-Screen Keyboard for Handwriting:
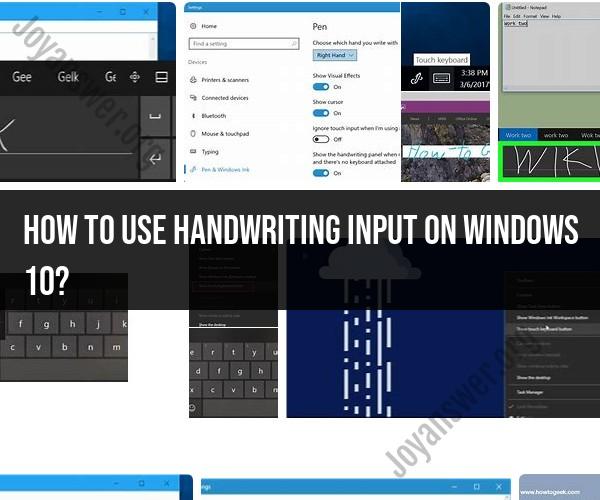
Open the On-Screen Keyboard: Click on the Windows Start button, then select "Settings" (the gear-shaped icon). In the Settings window, click on "Devices," and then select "Typing" from the left sidebar. Under the "On-Screen Keyboard" section, turn on "Show the touch keyboard or handwriting panel when not in tablet mode and there's no keyboard attached."
Access the On-Screen Keyboard: When you need to use handwriting input, tap or click on a text field to bring up the on-screen keyboard. If you're using a digital pen, you can also tap the keyboard icon in the taskbar and select "Keyboard" or "Handwriting."
Switch to Handwriting Mode: In the on-screen keyboard, you can switch to handwriting mode by clicking the keyboard icon with a pen or pencil icon on it. This will open the handwriting panel.
Using the Handwriting Panel:
Write with Your Pen or Finger: In the handwriting panel, you can write directly on the screen using your digital pen or your finger (if your device supports touch input).
Text Conversion: As you write, Windows will attempt to convert your handwriting into typed text in real-time. You can pause briefly between words to allow the conversion to catch up.
Correcting and Editing: If Windows doesn't recognize a word correctly, you can tap on it to see alternative suggestions or use the keyboard to make corrections manually.
Inserting Special Characters: The handwriting panel also allows you to insert special characters, symbols, and emojis. You can access these options by clicking the smiley face icon in the panel.
Inserting Space: To insert a space between words, simply write a space or use the spacebar on the on-screen keyboard.
Line Breaks and Erasing: You can insert line breaks by drawing a horizontal line or use the eraser tool to correct mistakes.
Inserting Drawings (Optional): If you want to include drawings or sketches alongside your handwriting, you can switch to drawing mode in the handwriting panel.
Inserting Text Boxes (Optional): For more structured documents, you can use text boxes within the handwriting panel.
Completion and Clearing: To complete your handwriting input, click the checkmark icon in the handwriting panel. To clear your input, click the "X" icon.
Close the Panel: After you've completed your handwriting input, you can close the handwriting panel by clicking the "X" in the upper-right corner.
Windows 10's handwriting input feature can be a powerful tool for users with touch-enabled devices, digital pens, or tablets. It's versatile and can be used for both text input and freehand drawing.


