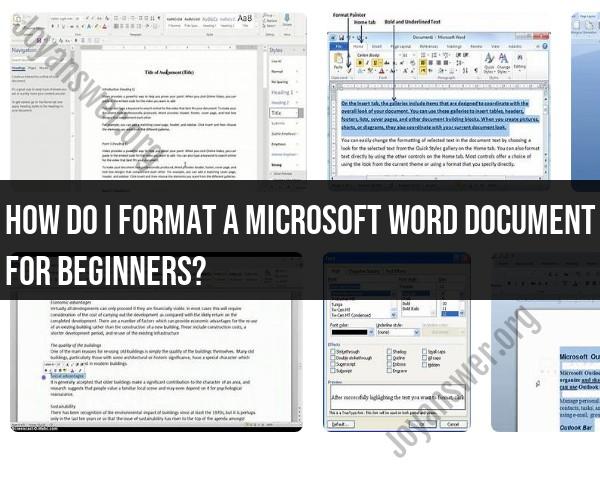
How do I format a Microsoft Word document for beginners?
Formatting a Microsoft Word document is an essential skill for creating professional-looking documents. Here's a beginner's guide to formatting a Word document:
Basic Text Formatting:
Font Style and Size:
- Select the text you want to format.
- In the "Font" group on the Home tab, choose a font style and size from the drop-down menus.
Bold, Italics, and Underline:
- Use the bold (B), italics (I), and underline (U) buttons in the Font group to apply these formatting options to selected text.
Alignment:
- Use the alignment buttons (left align, center, right align, and justify) in the Paragraph group to control the alignment of your text.
Line Spacing:
- In the Paragraph group, use the line spacing drop-down menu to set single, 1.5, double spacing, or customize spacing.
Paragraph Formatting:
Paragraph Indentation:
- To adjust the indentation, use the Increase Indent and Decrease Indent buttons in the Paragraph group.
Bullets and Numbering:
- Create bulleted or numbered lists by clicking the respective buttons in the Paragraph group.
Margins:
- You can adjust page margins by clicking on the Layout tab and selecting Margins. Choose from preset margin options or set custom margins.
Page Layout:
Page Orientation:
- To change between portrait and landscape orientation, go to the Layout tab and select Orientation.
Page Size:
- You can set the page size by clicking on the Layout tab, selecting Size, and choosing a standard page size or customizing it.
Headers and Footers:
- Insert headers and footers for page numbers, document title, or other information by going to the Insert tab and selecting Header or Footer.
Styles and Themes:
Styles:
- Use predefined styles from the Styles gallery on the Home tab to format titles, headings, and other text consistently.
Themes:
- Apply document themes from the Page Layout tab to change the overall design, including fonts and colors.
Tables:
Insert a Table:
- To insert a table, go to the Insert tab, click Table, and select the number of rows and columns.
Format Tables:
- After inserting a table, you can format it by selecting cells, rows, or columns and using the Table Tools Design and Table Tools Layout tabs that appear when the table is selected.
Images and Graphics:
Insert Images:
- Place your cursor where you want to insert an image, go to the Insert tab, and select Pictures. Choose the image you want to insert.
Image Formatting:
- Select the inserted image, and use the Picture Tools Format tab to adjust size, borders, and other image properties.
Page Breaks:
- Page Breaks:
- Insert page breaks to control where content starts on a new page. Go to the Insert tab and select Page Break.
Saving and Printing:
Save Document:
- To save your document, go to the File tab and select Save or Save As. Choose a location and file name.
Print:
- To print your document, go to the File tab and select Print. Choose your printer and print settings.
These are some of the basic formatting options in Microsoft Word. As you become more familiar with Word, you can explore advanced formatting features and tools to create more complex and customized documents.
Formatting a Microsoft Word Document for Beginners: Step-by-Step
Here is a step-by-step guide to formatting a Microsoft Word document for beginners:
- Open your Word document.
- Select the text you want to format.
- Click on the "Home" tab in the ribbon.
- Use the formatting options in the ribbon to change the font, font size, font color, and other text attributes.
- To format paragraphs, select the paragraph and then click on the "Paragraph" tab in the ribbon.
- Use the formatting options in the ribbon to change the alignment, line spacing, and other paragraph attributes.
- To insert images or tables, click on the "Insert" tab in the ribbon.
- Click on the "Pictures" button to insert an image, or click on the "Tables" button to insert a table.
- Once you have finished formatting your document, click on the "File" tab in the ribbon.
- Click on the "Save" button to save your document.
Basic Formatting Options and Techniques in Word
Here are some basic formatting options and techniques in Word:
- Font: Change the font of your text by selecting the desired font from the font drop-down menu in the ribbon.
- Font size: Change the font size of your text by selecting the desired font size from the font size drop-down menu in the ribbon.
- Font color: Change the font color of your text by clicking on the font color button in the ribbon and selecting the desired color.
- Alignment: Align your text to the left, right, center, or justify by clicking on the alignment buttons in the ribbon.
- Line spacing: Change the line spacing of your text by selecting the desired line spacing from the line spacing drop-down menu in the ribbon.
- Bullets and numbering: Create bulleted or numbered lists by clicking on the bullets or numbering buttons in the ribbon.
- Bold, italic, and underline: Make your text bold, italic, or underlined by clicking on the bold, italic, or underline buttons in the ribbon.
Adjusting Text, Fonts, and Paragraphs in Word
To adjust text, fonts, and paragraphs in Word, you can use the formatting options in the ribbon. For example, to change the font size of a selected paragraph, you can select the desired font size from the font size drop-down menu in the ribbon.
You can also use the keyboard shortcuts to adjust text, fonts, and paragraphs. For example, to bold the selected text, you can press the Ctrl+B keys.
Incorporating Images and Tables for Document Enhancement
You can incorporate images and tables into your Word document to enhance it. To insert an image, click on the "Pictures" button in the ribbon and select the desired image file. To insert a table, click on the "Tables" button in the ribbon and select the desired table size.
Once you have inserted an image or table, you can format it using the formatting options in the ribbon. For example, you can resize the image or table, or you can change the border and fill color of the table.
Saving, Printing, and Sharing Your Formatted Word Document
To save your formatted Word document, click on the "File" tab in the ribbon and then click on the "Save" button. To print your document, click on the "File" tab in the ribbon and then click on the "Print" button.
To share your document, you can save it to a cloud storage service such as OneDrive or Google Drive, and then share the link to the document with others. You can also send the document as an attachment in an email.
Here are some additional tips for formatting a Microsoft Word document:
- Use a consistent font and font size throughout your document.
- Use headings and subheadings to break up your text and make it easier to read.
- Use white space to make your document look less cluttered.
- Use images and tables to enhance your document and make it more visually appealing.
- Proofread your document carefully before saving or printing it.