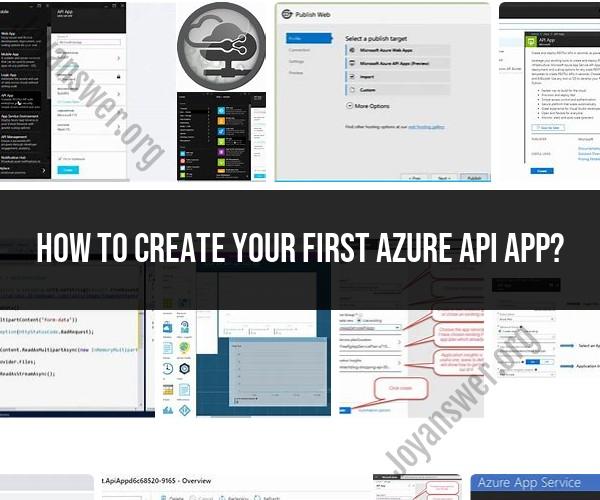
How to create your first Azure API app?
Creating your first Azure API App involves several steps, but it can be a straightforward process. Azure API Apps are part of Azure App Service and allow you to create, host, and consume APIs in Azure. Here's a beginner's guide to creating your first Azure API App:
Prerequisites:
- An Azure subscription: If you don't have one, you can sign up for a free Azure trial.
- Azure Portal access: You'll need to access the Azure Portal.
- Basic knowledge of RESTful API concepts.
Step-by-Step Guide:
Sign In to Azure:
- Open your web browser and go to the Azure portal.
- Sign in with your Azure account credentials.
Create a New API App:
- In the Azure portal, click on "Create a resource" or navigate to "App Services" in the left-hand navigation pane.
- Click the "+ Add" button to create a new App Service.
Basics Configuration:
- In the "Basics" tab of the "Create App Service" wizard:
- Subscription: Select your Azure subscription.
- Resource Group: Choose to create a new resource group or use an existing one to organize your resources.
- Name: Enter a unique name for your API App. This will also be part of the default URL for your API.
- Publish: Select "Code" since you're creating an API.
- Runtime Stack: Choose the runtime stack for your API (e.g., Node.js, .NET, Python).
- Operating System: Choose between Windows and Linux, depending on your application's requirements.
- Region: Select the Azure region where you want to deploy your API App.
- In the "Basics" tab of the "Create App Service" wizard:
Next Steps:
- Click the "Next: Monitoring" button to configure monitoring settings (optional). You can enable Application Insights for application monitoring if needed.
Tags:
- Optionally, you can add tags to your API App for better organization and resource management.
Review + Create:
- Review the configuration settings you've provided. If everything looks correct, click the "Review + Create" button.
Validation:
- Azure will perform validation checks to ensure your configuration is valid. If there are any issues, they will be flagged for you to address.
Create:
- Once validation is successful, click the "Create" button to provision the API App. Azure will start creating the service, which may take a few moments.
Deployment:
- After the API App is created, you can deploy your API code to it using various methods like Git, FTP, Azure DevOps, or container registry, depending on your initial configuration.
Test Your API:
- Once your API is deployed, you can test it by making HTTP requests to the API endpoint. You can use tools like Postman or curl to interact with your API.
Securing Your API:
- Implement authentication and authorization mechanisms to secure your API, depending on your application's requirements. Azure offers various authentication options, including Azure Active Directory (Azure AD) integration.
Scaling Your API:
- Configure scaling options to ensure your API can handle increased traffic. Azure App Service offers easy scaling capabilities.
Monitoring and Troubleshooting:
- Use Azure Application Insights or other monitoring tools to monitor your API's performance and troubleshoot any issues.
Custom Domains (Optional):
- If you want to use a custom domain for your API, configure domain settings in Azure.
Congratulations! You've created your first Azure API App. You can continue to develop, improve, and scale your API based on your project's needs. Azure provides various tools and services to help you manage, monitor, and optimize your API in the cloud.