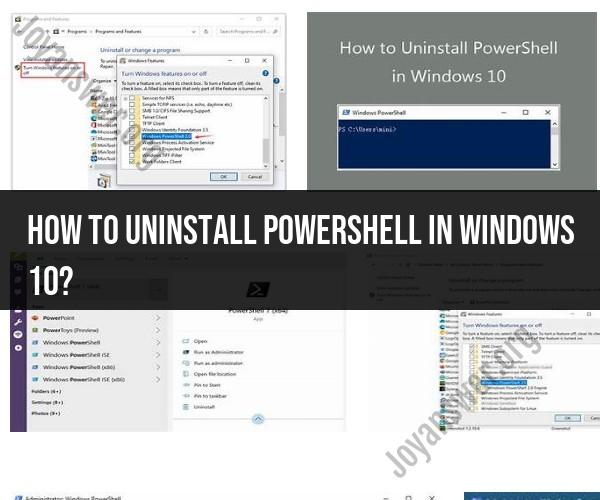
How to uninstall PowerShell in Windows 10?
PowerShell is an integral part of the Windows operating system, and it cannot be uninstalled like regular software applications. However, you can disable or restrict its usage if you do not want to use it. Here's how you can do that:
Option 1: Disable Windows PowerShell:
Open the Local Group Policy Editor: Press
Win + Rto open the Run dialog, typegpedit.msc, and press Enter.Navigate to the Restriction Policies: In the Local Group Policy Editor, go to
User Configuration -> Administrative Templates -> System.Find and Open "Don't run specified Windows applications": Look for the policy named "Don't run specified Windows applications" and double-click it to open its properties.
Configure the Policy: In the policy properties window, select the "Enabled" option. Then, click the "Show" button next to "List of disallowed applications."
Add PowerShell to the List: In the "Show Contents" dialog that appears, add "powershell.exe" (without quotes) to the list of disallowed applications.
Apply Changes: Click OK to close the dialog and then click OK to apply the policy.
Restart Your Computer: To enforce the policy, you may need to restart your computer.
This will effectively disable Windows PowerShell for your user account.
Option 2: Remove PowerShell from the Start Menu:
If you want to remove the Windows PowerShell shortcuts from the Start Menu, you can do the following:
Right-click on the Start button and select "Windows Terminal (Admin)" or "Windows PowerShell (Admin)" to open PowerShell with administrator privileges.
Run the following command to remove PowerShell from the Start Menu:
Remove-Item -Path "$env:USERPROFILE\AppData\Roaming\Microsoft\Windows\Start Menu\Programs\Windows PowerShell" -RecurseRun the following command to remove Windows PowerShell from the All Apps list:
Remove-AppxPackage Microsoft.WindowsPowerShell*
Please note that while you can restrict or remove access to Windows PowerShell, it's a powerful administrative tool, and altering its functionality or removing it entirely may impact certain system functions or configurations. Be cautious when making such changes, especially if you are not familiar with PowerShell's role in Windows administration.