How do you plot a polar graph?
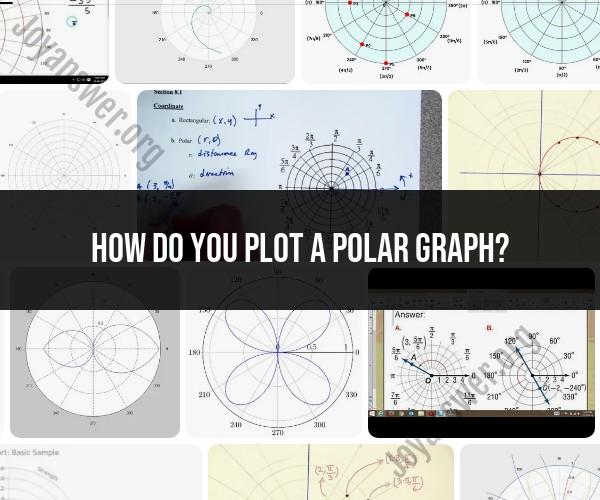
Plotting a polar graph involves representing data in a circular format, where each point is defined by a distance from the origin (radius) and an angle from a reference axis (usually the positive x-axis). Here's a step-by-step guide on how to create a polar graph:
Understand Polar Coordinates: In polar coordinates, a point is represented by (r, θ), where 'r' is the distance from the origin (radius) and 'θ' is the angle measured counter-clockwise from the reference axis.
Determine the Range: Decide the range for the radius 'r' and the angle 'θ' that you want to plot. This will depend on the specific data you're working with.
Choose a Scale: Select a suitable scale for both the radius and the angle. This will determine the spacing between points on your graph.
Draw the Axes: Draw the polar axes. The horizontal axis is usually the reference axis (0 degrees), and the vertical axis is where the radius varies.
Plot Points: For each data point, determine its polar coordinates (r, θ) and plot it on the graph. Start from the origin, move along the reference axis by the angle θ, and then move outwards by the distance 'r'.
Connect Points (Optional): You can connect the plotted points with smooth curves to visualize the relationship between them. This is especially useful when representing functions or continuous data.
Label the Axes: Label the axes with appropriate units for both the radius and the angle.
Title and Legend (Optional): Add a title to your graph to describe the data being plotted. If you have multiple data sets, include a legend to differentiate them.
Review and Adjust: Once you've plotted your data, review the graph to ensure it accurately represents your data. Make any necessary adjustments to improve clarity and readability.
By following these steps, you can create a polar graph to visually represent data in a circular format.
How can a polar graph be plotted?
There are two main ways to plot a polar graph:
1. Manually plotting points:
- This method works well for understanding the concept and for simple graphs.
- Here's what you'll need:
- A graphing compass (optional, but helpful for accuracy)
- Graph paper
- Pencil
- Steps involved:
- Identify the equation in polar coordinates: This will typically be expressed as r = f(θ), where r represents the distance from the origin (radius) and θ (theta) represents the angle measured counter-clockwise from the positive x-axis.
- Set up your graph paper: Label the axes. The radial axis (r) usually starts at the origin and extends outwards in increasing units. The angular axis (θ) is often represented along the circumference in degrees or radians, depending on the equation.
- Create a table of values: Choose specific values for theta (θ) at equal intervals throughout the desired range (often 0 to 360 degrees or 0 to 2π radians). For each chosen theta value, calculate the corresponding radius (r) using the equation.
- Plot the points: For each theta (θ) and radius (r) value in your table, plot a point on the graph paper. Use the theta value to determine the angle (direction) and the radius value to determine the distance from the origin. You can use a graphing compass to ensure accurate angles.
- Connect the points (optional): Depending on the equation and the number of points plotted, you may be able to connect the points to create a visual representation of the curve.
2. Plotting with graphing tools:
- Most graphing calculators and mathematical software programs can plot polar graphs.
- This method is much faster and more accurate for complex equations.
- Here's a general process (specific steps might vary depending on the software):
- Input the polar equation in the designated format (often r = f(θ)).
- Set the desired range for the theta (θ) values (e.g., 0 to 360 degrees or 0 to 2π radians).
- The software will then calculate and plot the corresponding curve.
Additional Tips:
- Pay attention to the range of the r values in your equation. Ensure your graph paper or software settings accommodate those values to avoid cutting off the curve.
- Some polar graphs don't pass through all quadrants. The range of theta (θ) values you choose will determine the portion of the curve you visualize.