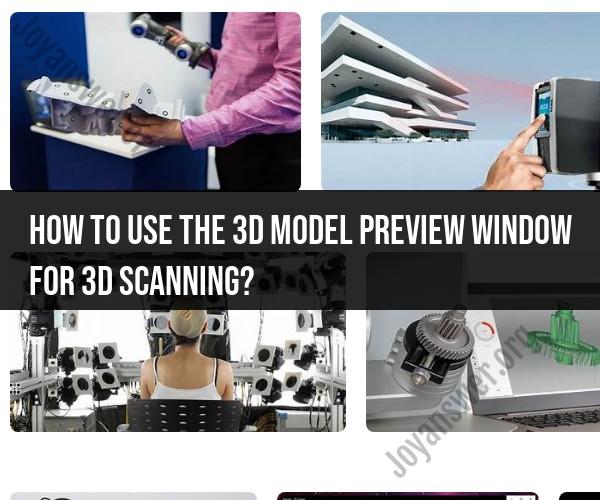
How to use the 3D model preview window for 3D scanning?
The use of a 3D model preview window for 3D scanning depends on the specific 3D scanning software or hardware you are using. Generally, this window provides a real-time view of the object being scanned and the 3D model being generated as the scanning process progresses. Here are the general steps for using a 3D model preview window for 3D scanning:
Set Up Your 3D Scanner:
- Make sure your 3D scanner hardware is properly set up, connected to your computer, and the necessary software is installed.
Calibrate Your Scanner:
- Before scanning, you may need to calibrate your 3D scanner to ensure accurate measurements and positioning. Follow the calibration instructions provided by the scanner's manufacturer.
Launch the Scanning Software:
- Open the scanning software on your computer. Many 3D scanners come with their proprietary software, while others may work with third-party scanning applications.
Select Scan Mode:
- Choose the appropriate scan mode based on your scanning needs. Some scanners offer different scanning modes, such as high-resolution or quick scans.
Position and Prepare the Object:
- Place the object you want to scan within the scanner's field of view. Ensure that the object is well-lit and positioned securely.
Start the Scanning Process:
- Initiate the scanning process through the software interface. This process may involve clicking a "Start" or "Scan" button.
Monitor the Preview Window:
- As the scanner captures data from the object, the 3D model preview window will display the progress in real-time. You will see the scanned areas of the object being filled in with a point cloud or mesh.
Adjust and Optimize:
- While scanning, you can monitor the 3D model preview to ensure that all areas of the object are being captured accurately. If you notice any gaps or areas that require additional scanning, you may need to adjust the scanner's position or settings.
Complete the Scan:
- Once you are satisfied with the scan and the preview window shows a complete and accurate representation of the object, you can end the scanning process through the software.
Save and Post-Process:
- After scanning, you can save the 3D model in a suitable file format (e.g., STL, OBJ) and proceed with post-processing, which may involve cleaning up the model, aligning multiple scans (if necessary), and optimizing it for your intended use.
Export or Use the 3D Model:
- Once the 3D model is ready, you can export it for various applications, such as 3D printing, computer-aided design (CAD), visualization, or analysis.
The specific features and interface of the scanning software may vary depending on the brand and model of your 3D scanner. Always refer to the user manual or documentation provided by the manufacturer for detailed instructions on using the 3D model preview window and the scanning process with your specific device.
Mastering 3D Scanning with the Model Preview Window
The model preview window is a valuable tool for 3D scanning. It allows you to see the progress of your scan in real time and to make adjustments as needed. To master 3D scanning with the model preview window, it is important to understand how it works and how to use it to your advantage.
3D Scanning Preview: Making the Most of the Model Preview Window
The model preview window typically displays a wireframe or point cloud representation of the object you are scanning. This allows you to see the overall shape of the object and to identify any areas that need more attention.
Here are some tips for making the most of the model preview window:
- Use the zoom and pan functions to get a closer look at the object. This is especially helpful for identifying small details or areas that are difficult to reach.
- Rotate the object to view it from all angles. This will help you to ensure that you are capturing a complete scan of the object.
- Use the clipping plane to remove unwanted parts of the object from the scan. This can be helpful for scanning complex objects or objects with cluttered backgrounds.
- Use the meshing tools to create a solid mesh from the point cloud data. This is necessary for most 3D printing and rendering applications.
A Window into 3D Scanning: How to Use the Model Preview Feature
The model preview window can be used for a variety of tasks, including:
- Identifying areas that need more attention. If you see any holes or gaps in the model preview, you can go back and scan those areas again.
- Ensuring that you are capturing a complete scan of the object. Rotate the object in the model preview window to make sure that you have scanned all sides of it.
- Checking the quality of the scan. The model preview window can give you a good idea of the overall quality of the scan. You can look for any areas that are noisy or have missing data.
- Making adjustments to the scan. Some 3D scanning software allows you to make adjustments to the scan in the model preview window. For example, you may be able to crop the scan or remove unwanted objects.
By using the model preview window effectively, you can master 3D scanning and create high-quality scans of any object.
Here are some additional tips for using the model preview feature:
- Use the different viewing modes to get a better understanding of the model. For example, you can switch to the wireframe view to see the underlying structure of the model.
- Use the measurement tools to measure the dimensions of the model. This can be helpful for designing parts or 3D printing the model.
- Export the model preview to a file. This can be helpful for sharing the model with others or for using it in other software applications.
By following these tips, you can use the model preview feature to improve your 3D scanning skills and create high-quality scans of any object.