How do you make a printable card?
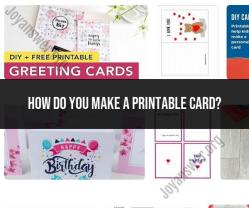
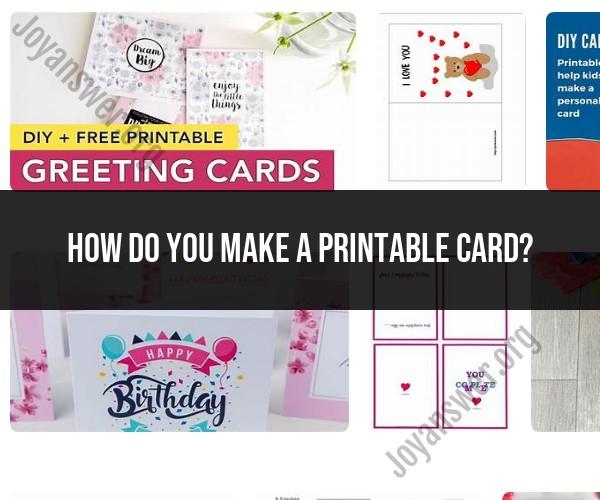
Creating a printable card for personalized greetings can be a fun and creative way to express your thoughts and sentiments for various occasions like birthdays, holidays, or special events. Here's a step-by-step guide to making a printable card:
Materials and Tools Needed:
- Computer with a word processing or graphic design software (e.g., Microsoft Word, Adobe InDesign, Canva, or any program you prefer).
- Printer and high-quality printer paper or cardstock.
- Scissors or a paper cutter.
- Art supplies (optional), such as colored pencils, markers, or stickers, for further embellishments.
Steps:
Choose a Card Template or Create Your Own:
- Start by deciding whether you want to use a pre-made template from a design software, create your own design from scratch, or use an online card-making service like Canva. These platforms often have pre-designed templates that you can customize.
Select a Theme or Occasion:
- Determine the theme or occasion for your card. This will guide your design, colors, and message. For example, you might choose a birthday, holiday, thank you, or "just because" theme.
Design the Front Cover:
- Create or select an image or design for the front cover of the card. You can add text, images, or graphics that relate to the occasion. Customize the font style, size, and color for the card's title or greeting.
Compose the Inside Message:
- Open the card to the inside and write your personalized message. You can include a heartfelt note, funny anecdotes, or well wishes. Adjust the font style and size for readability.
Add Personal Touches:
- Enhance the card with personal touches, such as drawings, stickers, or even a hand-drawn picture. These can make your card unique and special.
Adjust Card Size:
- Ensure that your design fits the size of the paper you'll be using. Common card sizes include 5" x 7" or 4.25" x 5.5", but you can choose the size that suits your design.
Test Print:
- Before printing on your final cardstock, do a test print on regular paper to check for any issues with alignment or formatting.
Print on Cardstock:
- Load your printer with high-quality cardstock, and print your card. Be sure to follow your printer's guidelines for printing on thicker paper.
Cut and Fold:
- After printing, carefully cut out the card along the edges to create the desired size. You can use scissors or a paper cutter for precise cuts. Then, fold the card in half to create the typical greeting card format.
Sign and Deliver:
- Sign the card with your name and add any final personal touches. Place it in an envelope, and you're ready to deliver your personalized greeting.
Remember that the level of customization and creativity is entirely up to you. You can make simple, elegant cards or go all out with intricate designs and embellishments. The goal is to create a card that reflects your feelings and brings joy to the recipient.
Creating Printable Cards: Designing Greeting Cards and More
Creating your own printable cards is a fun and affordable way to personalize your greetings and celebrations. With a little creativity and the right tools, you can design and print custom cards for any occasion.
Here are some tips for creating printable cards:
- Start with a design idea. What kind of card do you want to create? What colors, images, and fonts do you want to use? You can sketch out your design on paper or use a computer design program.
- Choose your tools and software. There are a variety of tools and software programs that you can use to create printable cards. Some popular options include:
- Microsoft Word
- Adobe Photoshop
- Adobe Illustrator
- Canva
- Insert your text and images. Once you have chosen your tools and software, you can start inserting your text and images into your card design. Be sure to use high-resolution images for the best results.
- Format your card. Once you have added your text and images, you can format your card to your liking. This may include adjusting the font size and color, adding borders or backgrounds, and centering your text and images.
- Print your card. Once you are happy with your card design, you can print it out on your home printer or send it to a professional printer. If you are printing at home, be sure to use high-quality cardstock paper.
DIY Printable Cards: Personalized Messages and Creative Ideas
Once you have the basics of creating printable cards down, you can start to get creative. Here are a few ideas for personalized messages and creative designs:
- Personalized messages: Write a heartfelt message to the recipient on the inside of the card. You can also include a personal anecdote or inside joke.
- Creative designs: Use your creativity to come up with unique and eye-catching card designs. You can use different colors, fonts, and images to create a card that is truly special.
- Handmade embellishments: Add a personal touch to your printable cards by adding handmade embellishments, such as glitter, ribbon, or stickers.
Tools and Software for Crafting Custom Printable Cards
There are a variety of tools and software programs that you can use to create custom printable cards. Here are a few popular options:
- Microsoft Word: Microsoft Word is a versatile software program that can be used to create a variety of documents, including printable cards. Word offers a variety of templates and design tools that make it easy to create custom cards.
- Adobe Photoshop: Adobe Photoshop is a powerful image editing software program that can be used to create stunning printable cards. Photoshop offers a wide range of features and tools that allow you to create custom designs, edit images, and add text.
- Adobe Illustrator: Adobe Illustrator is a vector graphics software program that can be used to create scalable and print-ready graphics. Illustrator is a good choice for creating printable cards with complex designs or illustrations.
- Canva: Canva is a free online design platform that offers a variety of templates and tools for creating printable cards. Canva is a good option for beginners or users who want to create simple and elegant cards.
Tips for Printing and Assembling Your Printable Card Creations
Once you have designed your printable card, you need to print it out and assemble it. Here are a few tips:
- Use high-quality cardstock paper. Cardstock paper is thicker and more durable than regular paper, making it ideal for printing cards.
- Print your card at a high resolution. A high resolution will ensure that your card looks sharp and clear.
- Cut your card carefully. Use a sharp craft knife or paper cutter to cut out your card. Be careful not to cut yourself.
- Assemble your card. Once your card is cut out, you can assemble it. You can use glue, tape, or staples to attach the two pieces of cardstock together.
Sharing and Celebrating with Handmade Printable Cards
Once you have created your printable cards, you can share them with your loved ones. Here are a few ideas:
- Give them away as gifts. Printable cards are a great way to show someone you care. You can give them away as gifts for birthdays, holidays, or any other special occasion.
- Send them in the mail. If you live far away from your loved ones, you can send them printable cards in the mail. This is a great way to stay in touch and let them know you're thinking of them.
- Use them for decorations. Printable cards can also be used as decorations. You can hang them on the wall, use them as table centerpieces, or even frame them.
No matter how you choose to use them, printable cards are a fun and creative way to share your love and appreciation with the people you care about.