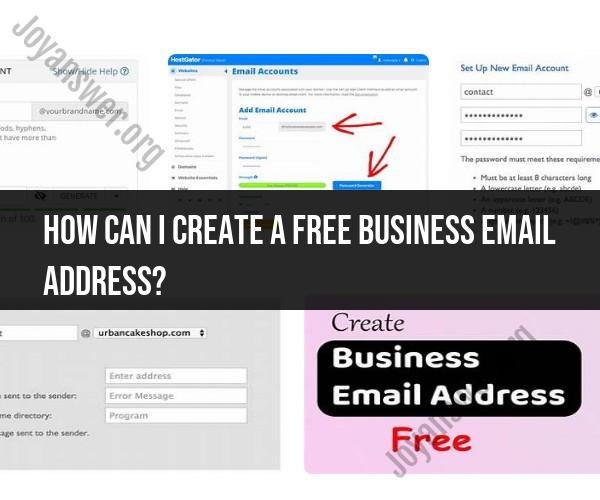
How can I create a free business email address?
Creating a free business email address typically involves using a professional email hosting service that offers free plans. Here's a step-by-step guide on how to create a free business email address:
Step 1: Choose a Domain Name
A professional business email address typically uses your own domain name (e.g., [email protected]). If you don't already have a domain name, you can register one through domain registrars like GoDaddy, Namecheap, or Google Domains. Choose a domain name that represents your business well.
Step 2: Select an Email Hosting Service
Several email hosting services offer free plans for business email addresses. Some popular options include:
- Zoho Mail
- ProtonMail
- Gmail (Google Workspace)
Select the one that best suits your needs and sign up for a free account.
Step 3: Sign Up for an Account
Visit the website of your chosen email hosting service and look for the "Sign Up" or "Get Started" button. Click on it to begin the registration process.
Step 4: Choose a Free Plan
When signing up, select the free plan or the plan that aligns with your needs. Most email hosting providers offer free plans with limited features and storage space, but they are suitable for small businesses or personal use.
Step 5: Verify Your Domain
If you've already registered a domain, you'll need to verify ownership. This usually involves adding a DNS (Domain Name System) record or TXT record to your domain's DNS settings. The email hosting service will provide instructions on how to do this.
Step 6: Create Email Accounts
Once your domain is verified, you can start creating email accounts. Typically, you'll have the option to create multiple email addresses for different team members (e.g., [email protected], [email protected]).
Step 7: Configure Email Clients
To access and manage your business emails, you can use email clients like Microsoft Outlook, Mozilla Thunderbird, or even webmail interfaces provided by the hosting service itself. Configure your email client with the server settings provided by your hosting service.
Step 8: Customize Settings
Configure email settings as needed, such as spam filters, forwarding rules, and email signatures. Customize these settings to suit your business's requirements.
Step 9: Start Using Your Business Email
You're now ready to send and receive emails using your new business email address. Ensure that you inform your team members or colleagues about their email addresses and login credentials.
Step 10: Backup and Security
Regularly backup your emails and ensure you have adequate security measures in place to protect sensitive information.
Remember that while these free plans offer basic features, they may have limitations in terms of storage, scalability, and advanced features. As your business grows, you may consider upgrading to a paid plan that provides more resources and additional features.


