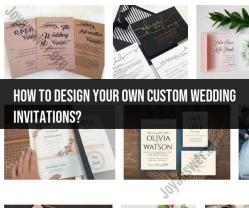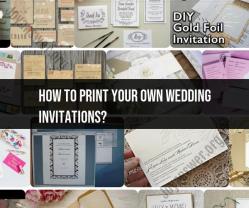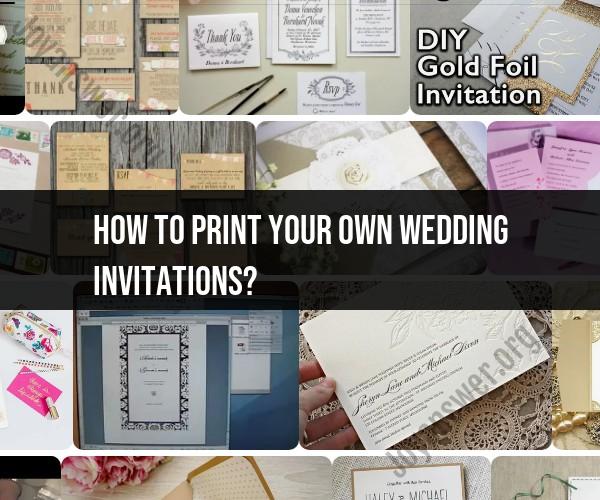
How to print your own wedding invitations?
Printing your own wedding invitations can be a cost-effective and creative way to personalize your wedding stationery. Here's a step-by-step guide to help you print your own wedding invitations:
Materials Needed:
- Blank invitation cards or cardstock
- Envelopes
- Computer with design software (e.g., Adobe InDesign, Canva, Microsoft Word)
- Printer
- High-quality ink cartridges
- Cutting tools (e.g., paper cutter, scissors)
- Ruler
- Bone folder (for folding)
- Adhesive (e.g., double-sided tape, glue)
- RSVP cards and envelopes (if applicable)
- Response card envelopes (if applicable)
Steps:
Design Your Invitation:
- Use design software or templates to create your invitation. Customize the layout, fonts, colors, and graphics to match your wedding theme. Ensure the design fits the dimensions of your chosen cardstock.
Set Up Your Printer:
- Ensure your printer is in good working condition and has sufficient ink. Adjust the print settings for the cardstock you're using. Test print on regular paper first to check alignment.
Print a Sample:
- Print a sample invitation to ensure it meets your expectations in terms of layout, colors, and quality. Make any necessary adjustments to the design or printer settings.
Print the Invitations:
- Load the cardstock into the printer's paper tray. Print your invitations one by one or in small batches to avoid jams or misalignment. Be patient and monitor each print job.
Cut the Invitations:
- Once the invitations are printed, use a paper cutter or scissors to trim them to the desired size. Use a ruler for precise measurements, and make sure they are all the same size.
Fold the Invitations:
- If your invitations are designed to be folded (e.g., a bi-fold or tri-fold), use a bone folder to create clean, crisp folds along the designated lines.
Assemble the Invitation Suite:
- If you have additional cards like details cards or RSVP cards, print and cut them following the same process. Assemble the suite in the desired order (invitation on top, followed by additional cards).
Address the Envelopes:
- Handwrite or print guest names and addresses on the envelopes. Be sure to include your return address on the back flap of the outer envelope.
Add Stamps and Seals:
- Affix postage stamps to the response card envelopes and any additional envelopes requiring postage. Consider using personalized seals for an elegant touch.
Adhere Inserts:
- If your invitation suite includes multiple cards, use adhesive like double-sided tape or glue to attach them securely inside the main invitation.
Assemble the Suite:
- Carefully place all the components (invitation, RSVP card, details card) into the main envelope, making sure everything fits comfortably without overstuffing.
Seal and Send:
- Seal the envelopes, and your DIY wedding invitations are ready to be sent to your guests. Remember to mail them out in accordance with your wedding timeline.
Keep Extras:
- Print a few extra invitations in case of mistakes or last-minute guest additions.
RSVP Tracking:
- Implement a system to track RSVPs, whether it's through an online platform, email, or traditional mail.
Printing your own wedding invitations can be a rewarding DIY project, but it does require attention to detail and patience. Be prepared to dedicate time to the process, especially if you're making a large number of invitations. Involve friends or family members to help if needed, and enjoy the satisfaction of creating personalized invitations for your special day.
DIY Wedding Invitations: A Step-by-Step Guide to Printing Your Own
If you're looking for a unique and personal way to create your wedding invitations, consider printing your own. DIY wedding invitations are a great way to save money and to add a touch of your own personality to your big day.
Here is a step-by-step guide to printing your own wedding invitations:
- Choose a design. There are many different ways to design your wedding invitations. You can use a template from a website or software program, or you can create your own design from scratch. If you're not sure where to start, there are many resources available online and in libraries.
- Gather your supplies. Once you have a design, you'll need to gather your supplies. This will include printer paper, envelopes, and any other embellishments you want to use. Be sure to choose high-quality paper and envelopes that will look their best when printed.
- Print your invitations. Once you have all of your supplies, you're ready to print your invitations. Be sure to follow the instructions on your printer to ensure the best results. If you're printing a large number of invitations, it may be helpful to use a professional printing service.
- Assemble your invitations. Once your invitations are printed, you'll need to assemble them. This may involve folding them, stuffing them into envelopes, and adding any embellishments you chose. Be sure to proofread your invitations carefully before mailing them out.
Putting Your Love in Print: How to Print DIY Wedding Invitations
Here are a few tips for printing your own DIY wedding invitations:
- Use high-quality paper and envelopes. Your wedding invitations are a keepsake that your guests will cherish for years to come, so be sure to use high-quality paper and envelopes.
- Choose a design that reflects your style. Your wedding invitations should be a reflection of your personal style and the overall style of your wedding.
- Proofread your invitations carefully. Before you mail out your invitations, be sure to proofread them carefully for any errors.
- Assemble your invitations with care. Taking the time to carefully assemble your invitations will add a touch of elegance and sophistication.
Crafty Wedding Prep: Printing Your Own Wedding Invitations
Printing your own wedding invitations is a great way to save money and to add a touch of your own personality to your big day. By following these tips, you can create DIY wedding invitations that are both stylish and meaningful.
Here are a few additional tips for printing your own wedding invitations:
- Use a template. If you're not sure where to start, using a template is a great way to create professional-looking wedding invitations without having to design them from scratch. There are many different templates available online and in software programs.
- Customize your design. Once you have chosen a template, you can customize it to reflect your personal style. This may involve changing the colors, fonts, or adding your own personal touches.
- Print on different types of paper. Experiment with different types of paper to find the one that you like best. You may want to consider using textured paper, recycled paper, or vellum.
- Add embellishments. Embellishments such as ribbons, wax seals, and dried flowers can add a touch of personality and style to your wedding invitations.
- Be creative. Don't be afraid to get creative with your wedding invitations. There are no rules when it comes to DIY invitations.
Printing your own wedding invitations is a fun and rewarding experience. By following these tips, you can create invitations that are both stylish and unique. Your guests will appreciate the time and effort you put into creating their invitations, and they will be excited to celebrate your special day with you.