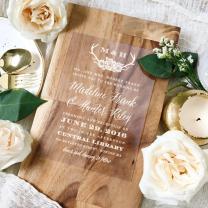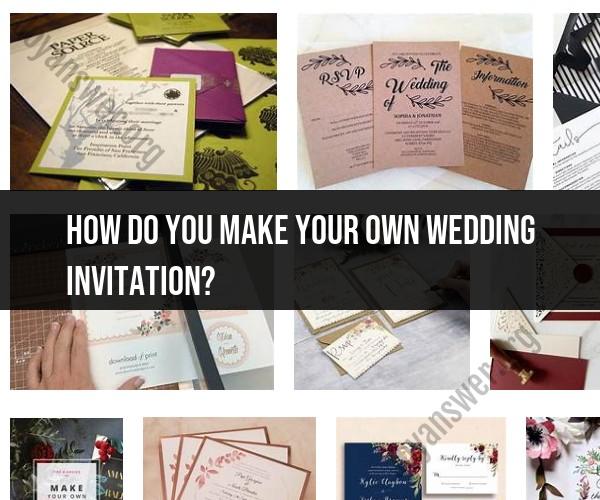
How do you make your own wedding invitation?
Making your own wedding invitations can be a delightful DIY project that adds a personal touch to your special day. Here's a step-by-step guide on how to make your own wedding invitations:
Materials You'll Need:
- Blank invitation cards or cardstock
- Envelopes
- Computer with design software (optional)
- Printer (optional)
- High-quality ink cartridges (if printing)
- Cutting tools (e.g., paper cutter, scissors)
- Ruler
- Bone folder (for folding)
- Adhesive (e.g., double-sided tape, glue)
- Stamps, ink pads, or other embellishments
- Decorative elements (e.g., ribbon, lace, stickers)
- Calligraphy pen or fine-tip marker (for handwritten elements)
- RSVP cards and envelopes (if applicable)
- Response card envelopes (if applicable)
Steps:
Design Your Invitation:
- Decide on the design of your wedding invitation. You can create a custom design using graphic design software like Adobe InDesign or Canva, or you can design it by hand if you have artistic skills.
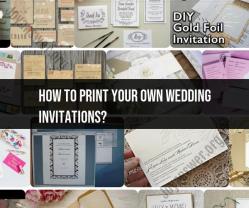
Set Up Your Computer (If Printing):
- If you're designing your invitation digitally, set up your computer and design software. Ensure that your design fits the dimensions of your chosen cardstock.
Print a Sample (If Printing):
- Print a sample of your invitation on regular paper to check for layout, colors, and alignment. Adjust your design as needed before printing on the actual cardstock.
Print the Invitations (If Printing):
- Load the cardstock into your printer and print the invitations one by one or in small batches. Use high-quality ink cartridges and adjust print settings for the best results.
Cut the Invitations:
- Use a paper cutter or scissors to trim the invitations to the desired size. Use a ruler to ensure precise measurements and consistency.
Fold the Invitations (If Necessary):
- If your invitations are designed to be folded (e.g., bi-fold or tri-fold), use a bone folder to create clean, neat folds along the designated lines.
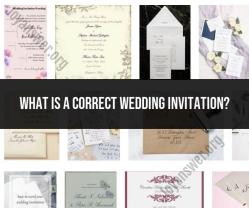
Assemble the Invitation Suite:
- If you have additional cards like details cards or RSVP cards, print and cut them following the same process. Assemble the suite in the desired order (invitation on top, followed by additional cards).
Address the Envelopes:
- Handwrite or print guest names and addresses on the envelopes. Include your return address on the back flap of the outer envelope.
Add Stamps and Seals:
- Affix postage stamps to the response card envelopes and any additional envelopes requiring postage. Consider using personalized seals for an elegant touch.
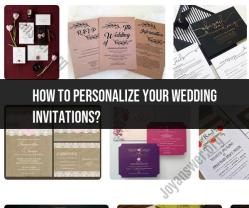
Embellish the Invitations:
- Add decorative elements such as ribbon, lace, stickers, or embellishments that match your wedding theme. Attach these using adhesive.
Add Personal Touches (Optional):
- If you have artistic skills, consider adding hand-drawn elements or calligraphy for a personalized touch. You can also use calligraphy for names and other important details.
RSVP Tracking:
- Implement a system to track RSVPs, whether it's through an online platform, email, or traditional mail.
Assemble the Suite:
- Carefully place all the components (invitation, RSVP card, details card) into the main envelope, making sure everything fits comfortably without overstuffing.
Seal and Send:
- Seal the envelopes, and your DIY wedding invitations are ready to be sent to your guests. Mail them out in accordance with your wedding timeline.
Remember that making your own wedding invitations can be time-consuming, so start early to ensure you have enough time to complete the process. Enjoy the creative journey, and don't hesitate to seek help from friends or family members if needed. Your handmade invitations will add a special and personal touch to your wedding celebration.
DIY Wedding Invitations: How to Create Your Own Beautiful Designs
DIY wedding invitations are a great way to save money and to add a personal touch to your big day. With a little creativity and effort, you can create beautiful and unique wedding invitations that your guests will love.
Here are a few tips for creating your own DIY wedding invitations:
- Start with a plan. Before you start designing your invitations, take some time to think about what you want them to look like. Consider the style of your wedding, your personal style, and your budget. Once you have a general idea of what you want, you can start to put together a plan.
- Choose your materials. There are many different materials that you can use for your DIY wedding invitations. Consider using high-quality paper, envelopes, and embellishments. You may also want to consider using recycled paper or other eco-friendly materials.
- Get creative. Don't be afraid to get creative with your DIY wedding invitations. There are no rules when it comes to DIY invitations. You can use a variety of techniques, such as calligraphy, hand lettering, and stamping, to create your own unique designs.
- Don't be afraid to ask for help. If you need help designing your invitations, don't be afraid to ask for help from a friend, family member, or professional designer.
Crafting Love: Making Your Own Wedding Invitations
Creating your own wedding invitations is a great way to show your loved ones how much you care. When you put your heart and soul into creating your invitations, it shows.
Here are a few tips for crafting love into your DIY wedding invitations:
- Use your personal style. Your wedding invitations should reflect your personal style and the overall style of your wedding. Choose a design that you love and that represents your relationship.
- Add personal touches. There are many ways to add personal touches to your DIY wedding invitations. You can include a personal message to your guests, use a special photo, or add a handwritten note.
- Choose high-quality materials. Your wedding invitations are a keepsake that your guests will cherish for years to come, so be sure to use high-quality materials.
- Put your heart into every detail. Take the time to carefully assemble your invitations and to add any special touches you want.
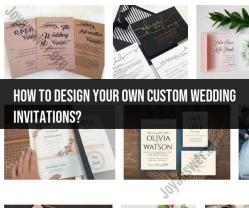
From Ideas to Invitations: A Guide to DIY Wedding Stationery
If you're new to DIY wedding stationery, here are a few tips to help you get started:
- Gather your supplies. You'll need to gather a few supplies before you start creating your invitations. This may include paper, envelopes, embellishments, and any other materials you need for your design.
- Choose a design. There are many different ways to design your wedding invitations. You can use a template, create your own design from scratch, or work with a professional designer.
- Assemble your invitations. Once you have designed your invitations, it's time to assemble them. This may involve folding them, stuffing them into envelopes, and adding any embellishments you chose.
- Proofread your invitations carefully. Before you mail out your invitations, be sure to proofread them carefully for any errors.
Creating your own DIY wedding invitations is a fun and rewarding experience. By following these tips, you can create invitations that are both stylish and meaningful. Your guests will appreciate the time and effort you put into creating their invitations, and they will be excited to celebrate your special day with you.