How do I create a transcript?
Creating a transcript involves converting spoken or recorded content into written text. Transcripts are commonly used for a variety of purposes, such as interviews, meetings, video captions, and more. Here's a step-by-step guide on how to create a transcript:
Step 1: Prepare Your Tools and Materials
Before you begin, gather the necessary tools and materials:
Recording: If you're transcribing spoken content, ensure you have an audio or video recording of the content you want to transcribe.
Computer: You'll need a computer with word processing software. Microsoft Word, Google Docs, or specialized transcription software can be used.
Headphones: If you have audio recordings, using headphones can help you hear the content clearly.
Transcription Foot Pedal (Optional): If you're doing transcription regularly, a foot pedal can be useful for controlling playback speed.
Step 2: Choose a Transcription Method
There are two main methods for transcription:
Manual Transcription: Listen to the audio or watch the video and type what you hear in a word processing document. This method is time-consuming but provides complete control.
Automated Transcription: Use transcription software or services that automatically convert spoken words into text. While this can save time, automated transcription may not be as accurate, and some editing may be required.
Step 3: Set Up Your Workspace
Find a quiet and comfortable workspace with minimal distractions. Ensure you have access to your recording, computer, and headphones if needed.
Step 4: Start Transcribing
For manual transcription:
- Play the audio or video recording, and pause as needed to transcribe accurately.
- Type what you hear, following the spoken content closely.
- Use timestamps (e.g., every minute) to mark your progress, making it easier to find your place if you need to pause.
For automated transcription:
- Upload your audio or video file to the transcription software or service.
- The software will generate an initial transcript. Review and edit it as needed for accuracy.
Step 5: Format the Transcript
- Use consistent formatting for the transcript. Typically, transcripts are divided into paragraphs or sections with clear speaker labels (if applicable).
- Include timestamps at regular intervals or when there is a change in content.
- Ensure the text is clear and easy to read.
Step 6: Edit and Proofread
- Review your transcript for accuracy, including spelling, grammar, and punctuation.
- Correct any mistakes or inaccuracies in the text.
- Check that speaker labels (if applicable) are correctly attributed.
Step 7: Finalize and Save
- Save your transcript document with a descriptive filename.
- Consider saving a backup copy in a different location or format.
Step 8: Distribute or Use the Transcript
Depending on your purpose, you can now use or distribute the transcript as needed. For example, you can use it for video captions, create written reports, or provide transcripts for interviews or meetings.
Remember that transcription can be time-consuming, and the time required may vary based on the complexity and length of the content. Automated transcription tools can help speed up the process, but manual review and editing are often necessary for accuracy.
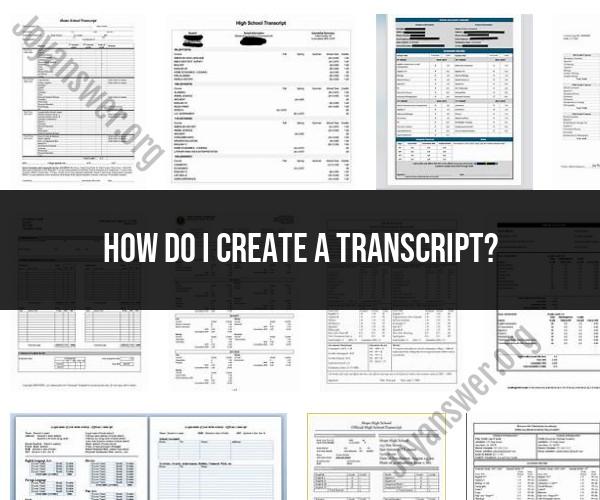
To create a personal transcript, you will need to gather all of your academic records, including transcripts from high school, college, and any other educational institutions you have attended. You may also want to include certificates or other evidence of completed courses.
Once you have gathered all of your records, you will need to decide how to format your transcript. There is no one-size-fits-all format, but most transcripts include the following information:
- Your name
- The name of the institution(s) you attended
- The dates you attended
- The courses you took
- The grades you received
You may also want to include other information on your transcript, such as:
- Your GPA
- Any honors or awards you received
- Relevant extracurricular activities
Once you have decided on a format, you can start creating your transcript. You can type it up on a computer or write it by hand. Be sure to proofread it carefully before you finalize it.
Here are some additional tips for creating a personal transcript:
- Be consistent with your formatting. Use the same font, font size, and margins throughout your transcript.
- Use clear and concise language. Avoid using jargon or technical terms.
- Be specific. When listing your courses, be sure to include the full course title and the course number.
- Be accurate. Make sure that all of the information on your transcript is correct.
Once you have created your transcript, you may want to have it notarized. This will give it additional weight and legitimacy.
Why create a personal transcript?
There are a number of reasons why you may want to create a personal transcript. Some common reasons include:
- To apply for jobs or internships
- To apply for graduate school
- To keep a record of your academic achievements
- To document your skills and qualifications
Creating a personal transcript can be a time-consuming process, but it is a valuable investment in your future. A well-written transcript can help you to stand out from the competition and achieve your academic and professional goals.


