How do I create a formal letter template?
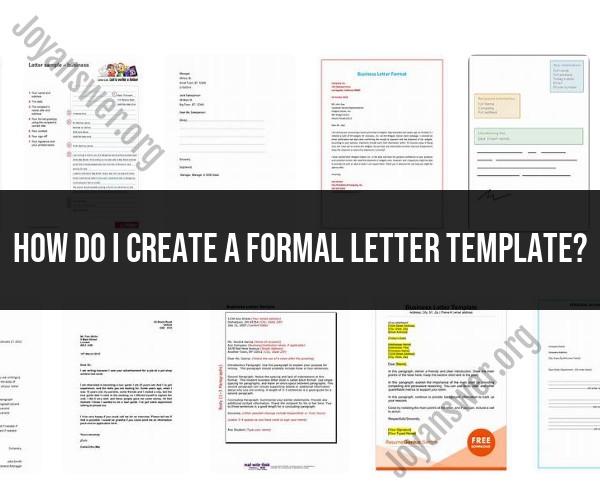
Creating a formal letter template can be a helpful way to streamline your communication and ensure a consistent and professional look for your letters. Here's a step-by-step guide on how to create a formal letter template:
Step 1: Open a Word Processing Software:
- Use a word processing software like Microsoft Word or Google Docs to create your formal letter template.
Step 2: Set Margins:
- Set your document margins. For formal letters, standard margins are usually 1 inch on all sides.
Step 3: Choose a Font and Font Size:
- Select a professional and easily readable font. Times New Roman, Arial, or Calibri are commonly used for formal documents.
- Set the font size to 12 points for the body text.
Step 4: Create a Header:
- At the top of the page, create a header that includes your name, address, phone number, and email address. This will serve as your letterhead.
Step 5: Add a Date Line:
- Below the header, add a line with the date. It should be left-justified or centered.
Step 6: Include the Recipient's Information:
- Leave a few lines below the date and include the recipient's name, title, company or organization (if applicable), and address.
Step 7: Write the Salutation:
- After the recipient's information, write a formal salutation such as "Dear Mr. Smith," or "To Whom It May Concern:" if you don't know the recipient's name.
Step 8: Compose the Body of the Letter:
- Write your letter's content. Keep it concise, clear, and to the point. Use proper paragraph breaks and indentation.
Step 9: Add a Closing:
- Include a formal closing like "Sincerely," "Yours faithfully," or "Best regards," followed by a comma.
Step 10: Leave Space for a Signature:
- After the closing, leave space for your handwritten signature. You can also include a typed version of your name beneath the signature space.
Step 11: Save as a Template:
- Save your letter as a template for future use. In Microsoft Word, you can save it as a ".dotx" file (Word template). In Google Docs, you can save it in your Google Drive and make a copy whenever you need to use it.
Step 12: Customize as Needed:
- Whenever you need to write a formal letter, open your template, and customize the recipient's information, date, salutation, and body text as required.
By following these steps, you can create a formal letter template that you can easily customize for various professional communication needs. Having a template ensures consistency and professionalism in your written correspondence.


