How do I add a digital signature to a Word document?
Adding a digital signature to your Word document enhances its authenticity and security. A digital signature confirms the document's origin and ensures that it hasn't been altered since it was signed. Follow these steps to add a digital signature to your Word document:
Step 1: Open the Word Document
Launch Microsoft Word and open the document you want to sign.
Step 2: Click on the Insert Tab
In the Word menu, click on the "Insert" tab located at the top.
Step 3: Add a Signature Line
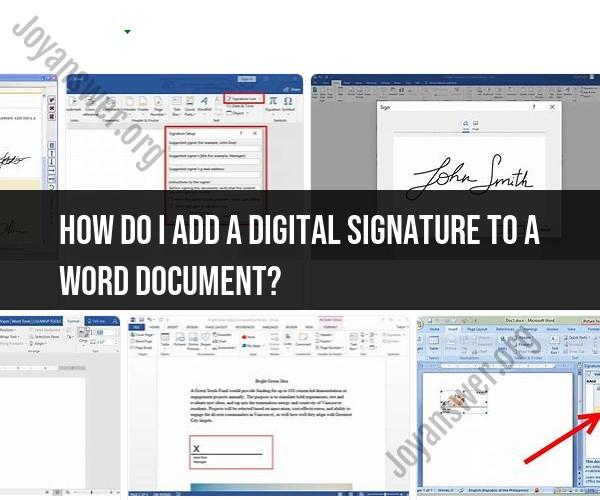
Click on "Signature Line" from the "Text" group. A dialog box will appear.
Step 4: Fill in Signature Details
Fill in the relevant information, such as your name, title, and email address. You can also add instructions for the signer.
Step 5: Add a Digital Signature
Check the box that says "Allow the signer to add comments in the Sign dialog box." This allows the signer to provide additional information while signing. Click "OK."
Step 6: Save and Share
Save the document. When someone opens it, they will see the signature line. To add their digital signature, they can click on the line, follow the prompts, and sign the document.
Step 7: Verify the Digital Signature
To verify the authenticity of the digital signature, right-click on the signature line, select "Signature Details," and check the signer's information and certificate details.
Conclusion
Adding a digital signature to your Word document is a crucial step in ensuring its integrity and authenticity. By following these quick steps, you can confidently sign and share your documents while maintaining security and trust.


