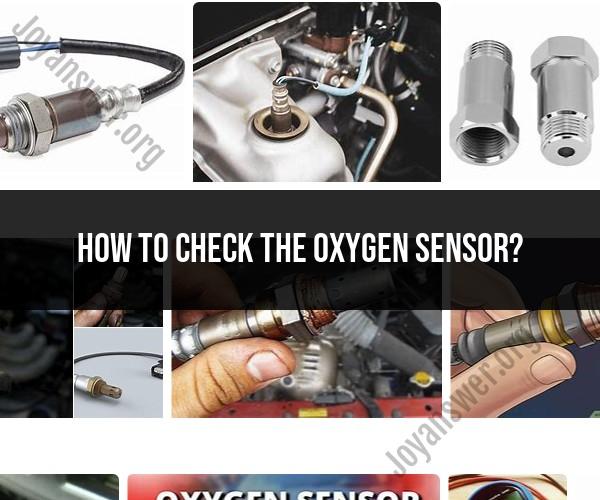
How to check the oxygen sensor?
Checking the oxygen sensor (O2 sensor) in a car is a relatively straightforward process. The oxygen sensor measures the level of oxygen in the exhaust gases, and its data is used by the engine control unit (ECU) to optimize fuel mixture and emissions. If you suspect a faulty oxygen sensor, here are the steps to check it:
Safety Precautions:Before you begin, make sure you are working in a well-ventilated area. Also, keep in mind that the exhaust system can become extremely hot during operation, so take necessary precautions to avoid burns.
Tools and Materials:
- Safety gloves and goggles
- Jack and jack stands (if needed to access the sensor)
- Socket wrench or oxygen sensor socket
- Multimeter (optional)
Steps:
Locate the Oxygen Sensor: Most vehicles have one or more oxygen sensors. They are typically found in the exhaust system, both before and after the catalytic converter. Consult your vehicle's repair manual to locate the sensor(s) in your specific make and model.
Prepare the Vehicle: If the sensor is difficult to access, you may need to jack up the vehicle and secure it with jack stands for safety.
Disconnect the Sensor: If the oxygen sensor has an electrical connector, disconnect it. Use the appropriate socket wrench or oxygen sensor socket to remove the sensor from its mounting location. Be careful not to damage the sensor or the surrounding components.
Inspect the Sensor: Examine the sensor for signs of physical damage or contamination. Look for any damage to the wires or the sensor's housing. If it's covered in soot or oil residue, it may need cleaning or replacement.
Check the Resistance (Optional): Using a multimeter set to measure resistance (ohms), you can check the sensor's resistance across its electrical terminals. Consult your vehicle's repair manual for the expected resistance values. A healthy sensor should typically have a resistance of around 10-16 ohms when at room temperature.
Test the Sensor (Engine Running): If you have access to a scan tool, you can monitor the sensor's output while the engine is running. The voltage output should oscillate between approximately 0.1V and 0.9V. This oscillation indicates that the sensor is responding to changes in the exhaust gas oxygen levels. A constant voltage reading or a lack of oscillation may indicate a faulty sensor.
Replace (If Necessary): If you find physical damage, high resistance, or a lack of voltage oscillation during the test, it's likely time to replace the oxygen sensor. Ensure you replace it with the correct sensor for your vehicle.
Reinstall and Clear Codes: Once you've replaced the sensor, reinstall it and reconnect any electrical connectors. Clear any trouble codes from the ECU using a scan tool to ensure the system recognizes the new sensor.
Remember that oxygen sensors have a limited lifespan, and their performance can degrade over time. Regular maintenance and timely replacement of a faulty sensor can help ensure your vehicle runs efficiently and meets emission standards.
DIY Guide: How to Check and Test an Oxygen Sensor
Oxygen sensors are important components of a vehicle's emissions control system. They monitor the amount of oxygen in the exhaust gases and send this information to the engine computer. The engine computer then adjusts the air-fuel mixture accordingly to ensure optimal performance and fuel efficiency.
Over time, oxygen sensors can become fouled or damaged, which can lead to a variety of problems, including decreased fuel economy, increased emissions, and engine performance issues. It is important to check and test your oxygen sensors regularly to ensure that they are functioning properly.
To check and test an oxygen sensor, you will need:
- A multimeter
- A wrench or socket wrench to remove the oxygen sensor
- Safety glasses
Instructions:
- Allow the engine to cool completely.
- Locate the oxygen sensor. It is usually located in the exhaust manifold or downpipe.
- Use the wrench or socket wrench to remove the oxygen sensor.
- Connect the red lead of the multimeter to the signal wire of the oxygen sensor.
- Connect the black lead of the multimeter to a ground.
- Start the engine and let it run for a few minutes.
- Observe the reading on the multimeter. The voltage should fluctuate between 0.1 and 0.9 volts. If the reading is constantly low or high, the oxygen sensor is likely faulty and needs to be replaced.
Troubleshooting Oxygen Sensors: Step-by-Step Inspection
If you are having problems with your vehicle's engine performance or emissions, it is important to inspect the oxygen sensors. Here is a step-by-step guide to troubleshooting oxygen sensors:
- Check for physical damage. Inspect the oxygen sensors for any signs of physical damage, such as cracks, dents, or corrosion. If you find any damage, the oxygen sensor needs to be replaced.
- Check the wiring. Inspect the wiring to the oxygen sensors for any signs of damage, such as frayed wires or loose connections. If you find any damage, repair the wiring or replace the oxygen sensor.
- Test the oxygen sensors. Use a multimeter to test the oxygen sensors as described above. If the oxygen sensor is not functioning properly, it needs to be replaced.
Ensuring Optimal Engine Performance with Oxygen Sensor Checks
Regularly checking and testing your oxygen sensors is important for ensuring optimal engine performance. By replacing faulty oxygen sensors promptly, you can help to improve fuel economy, reduce emissions, and extend the life of your engine.
Here are some additional tips for ensuring optimal engine performance with oxygen sensor checks:
- Check the oxygen sensors whenever you change the oil.
- Have the oxygen sensors inspected by a qualified mechanic at least once a year.
- If you are experiencing any problems with your vehicle's engine performance or emissions, have the oxygen sensors inspected immediately.
By following these tips, you can help to ensure that your oxygen sensors are functioning properly and that your engine is performing at its best.